
Navigate Content
DNS for Dummies: Part 3
In this part we will be getting our hands dirty and setting up our own personal DNS server using an ubuntu virtual machine.
Setting Up a DNS Server
This section guides you in setting up a DNS server using BIND (Berkeley Internet Name Domain) on Ubuntu. By the end of this lab, you’ll be able to configure a DNS server and write a custom zone file that resolves services in a network. The steps cover essential concepts we discussed earlier, giving practical insight into DNS.
Lab Overview
Objective:
Install and configure a DNS server to manage domain resolutions for services in a lab network.Lab Environment: Note: This is how I have my lab setup. You can have different services running in your lab environment. You can refer here to understand about virtual machines.
- Ubuntu Server IP: 192.168.180.226 (This will be our BIND server)
- Services to Manage:
- Insecure DVWA:
192.168.180.226:9998 - Insecure Juice Shop:
192.168.180.226:3000 - Secure DVWA:
192.168.180.31 - Secure Juice Shop:
192.168.180.22 - F5 BigIP devices:
192.168.190.133and192.168.190.134 - ELK Stack:
192.168.180.112:5777
- Insecure DVWA:
Requirements:
- Basic understanding of Linux commands.
- Ubuntu 20.04 or later installed with sudo privileges.
- Internet access for downloading packages.
Introduction to BIND
What is BIND?
BIND is one of the most widely used DNS server implementations. It supports all major DNS functionalities, making it a go-to choice for organizations and labs.Why Use BIND?
- Offers extensive customization for zone files.
- Suitable for managing internal networks (split-horizon DNS).
- Supports advanced DNS features like delegation and failover.
Step 1: Lab Setup
- Ensure the Server Environment:
- Update and upgrade packages:
sudo apt update && sudo apt upgrade -y - Install essential tools for networking and text editing:
sudo apt install net-tools vim -y
- Update and upgrade packages:
I am using vim as my text editor, you can use nano as well. After modifying the file if you are unable to write to the file or quit vim, I suggest killing the terminal or rebooting the PC.
Step 2: Installing BIND on Ubuntu
Install BIND:
sudo apt install bind9 bind9-utils bind9-doc -yVerify Installation: Check if BIND is running:
sudo systemctl status bind9
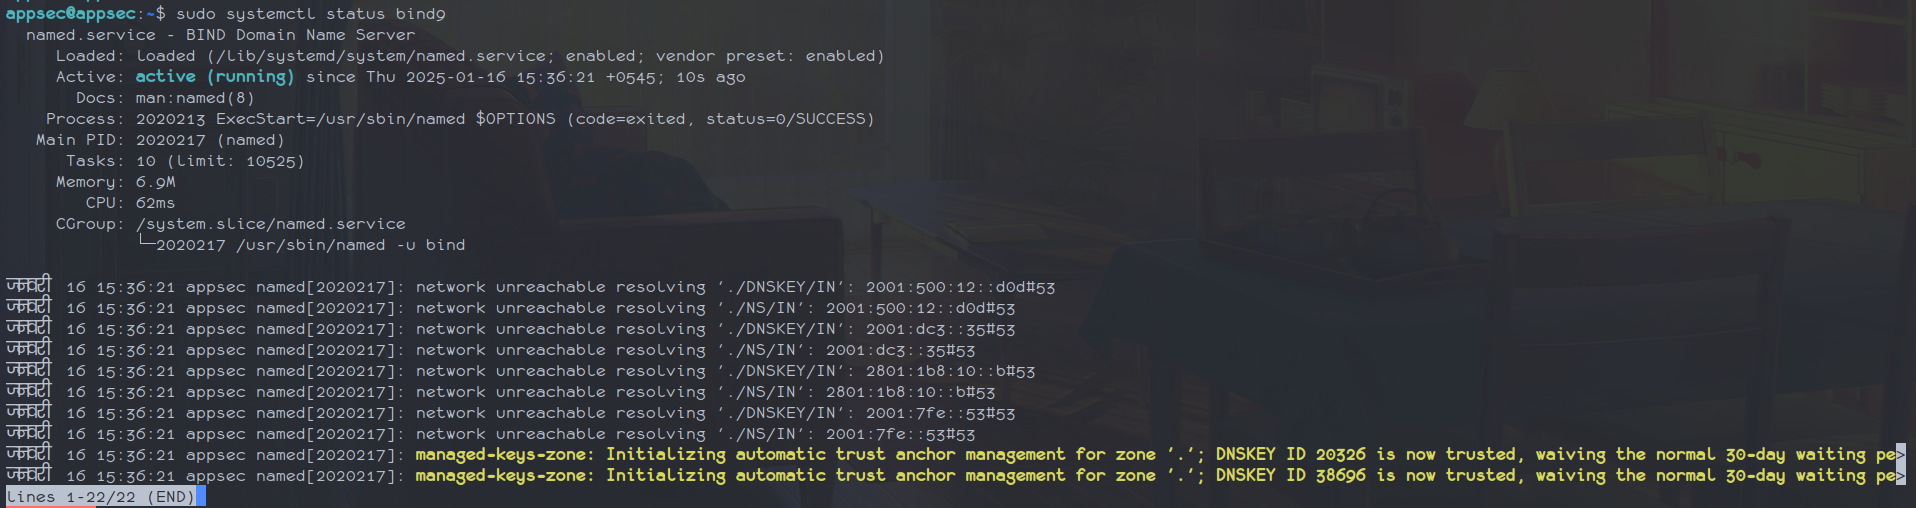 The bind service is working as we got active(running) status.
- Enable BIND to Start on Boot:
sudo systemctl enable bind9
Step 3: Configuring named.conf
The named.conf file specifies BIND’s global configuration. Modify it as follows:
- Edit the
named.conf.optionsfile:Add or modify:sudo vim /etc/bind/named.conf.optionsoptions { directory "/var/cache/bind"; // Forwarders forwarders { 8.8.8.8; // Google DNS 1.1.1.1; // Cloudflare DNS }; allow-query { any; }; recursion yes; dnssec-validation auto; auth-nxdomain no; // Conforms to RFC1035 listen-on { any; }; };
File Location: /etc/bind/named.conf.options
This file contains global settings for the BIND DNS server, such as forwarders, query restrictions, and DNSSEC settings. Here’s what each section means:
directory "/var/cache/bind";
Defines the directory where BIND stores its cache files.forwarders { 8.8.8.8; 1.1.1.1; };
Lists upstream DNS servers used for resolving queries outside of local zones.allow-query { any; };
Permits DNS queries from any IP address. For restricted networks, this can be limited (e.g.,allow-query { 192.168.0.0/24; };).recursion yes;
Enables recursive queries, allowing the server to resolve non-authoritative domains.dnssec-validation auto;
Configures DNSSEC to validate responses automatically, ensuring authenticity.auth-nxdomain no;
Specifies that the server won’t falsely advertise itself as authoritative for non-existent domains.listen-on { any; };
Makes the server listen on all available network interfaces.
- Add Zones:
Create a file for your DNS zones. Opennamed.conf.local:Add:sudo vim /etc/bind/named.conf.localzone "lab.local" { type master; file "/etc/bind/zones/db.lab.local"; }; zone "180.168.192.in-addr.arpa" { type master; file "/etc/bind/zones/db.192.168.180"; };
File Location: /etc/bind/named.conf.local
This file defines custom DNS zones for your domains. We use this file to declare forward and reverse lookup zones.
Forward Lookup Zones: Allows hostname-to-IP resolution.
Reverse Lookup Zones: Allows IP-to-hostname resolution.
zone "lab.local"
Declares the forward lookup zone forlab.local.type master;
Indicates this server is the primary authoritative server for the zone.file "/etc/bind/zones/db.lab.local";
Specifies the location of the zone file containing records forlab.local.
zone "180.168.192.in-addr.arpa"
Declares the reverse lookup zone for IP range192.168.180.0/24.
Step 4: Creating Zone Files
Create Zone Directory:
sudo mkdir /etc/bind/zonesWrite the Forward Zone File:
sudo vim /etc/bind/zones/db.lab.localExample Content:
$TTL 3600
@       IN      SOA     ns.lab.local. admin.lab.local. (
        2025011501 ; Serial
        3600       ; Refresh
        1800       ; Retry
        604800     ; Expire
        3600 )     ; Minimum TTL

; Name servers
        IN      NS      ns.lab.local.

; Records
ns      IN      A       192.168.180.226
dvwa    IN      A       192.168.180.226
juiceshop IN    A       192.168.180.22
f5-1    IN      A       192.168.190.133
f5-2    IN      A       192.168.190.134
elk     IN      A       192.168.180.112
File Location: /etc/bind/zones/db.lab.local
This file contains the resource records for the lab.local domain.
$TTL 3600
Time-to-live (in seconds) for all records, controlling caching by resolvers.SOA Record
The Start of Authority (SOA) record contains key administrative details:ns.lab.local.Primary nameserver.admin.lab.local.Email of the administrator.2025011501Serial number, incremented for each zone file change.3600Refresh interval for secondary servers to check updates.1800Retry interval after a failed refresh attempt.604800Expiry time after which the secondary stops using zone data.3600Minimum TTL for negative caching (e.g., non-existent records).
NS Record
Declaresns.lab.local.as the authoritative name server.A Records
Maps domain names (dvwa.lab.local,elk.lab.local) to IPs.
- Write the Reverse Zone File:Example Content:
sudo vim /etc/bind/zones/db.192.168.180$TTL 3600 @ IN SOA ns.lab.local. admin.lab.local. ( 2025011501 ; Serial 3600 ; Refresh 1800 ; Retry 604800 ; Expire 3600 ) ; Minimum TTL ; Name servers IN NS ns.lab.local. ; PTR Records 226 IN PTR dvwa.lab.local. 22 IN PTR juiceshop.lab.local. 112 IN PTR elk.lab.local.
File Location: /etc/bind/zones/db.192.168.180
This file contains reverse lookup records to map IPs back to hostnames.
- PTR Records
Define mappings from IP addresses to domain names.
For example,226 IN PTR dvwa.lab.local.means192.168.180.226resolves todvwa.lab.local.
Note: Keeping forward and reverse zones explicit simplifies troubleshooting and updates.
Step 5: Test the Configuration
- Check Configuration Syntax:
sudo named-checkconf - Verify Zone Files:
sudo named-checkzone lab.local /etc/bind/zones/db.lab.local sudo named-checkzone 180.168.192.in-addr.arpa /etc/bind/zones/db.192.168.180 - Restart BIND:
sudo systemctl restart bind9
Exercise: Test Your DNS Server
- Set the DNS on a Client Machine:
Change the resolver to192.168.180.226.Add:sudo vim /etc/resolv.confnameserver 192.168.180.226 - Test Queries:
dig dvwa.lab.local
dig -x 192.168.180.226
Tags
Word Quiz
Correct := 0 | Wrong := 0
Question?
Fill the Answer
Correct:= 0 | Wrong:= 0
Question